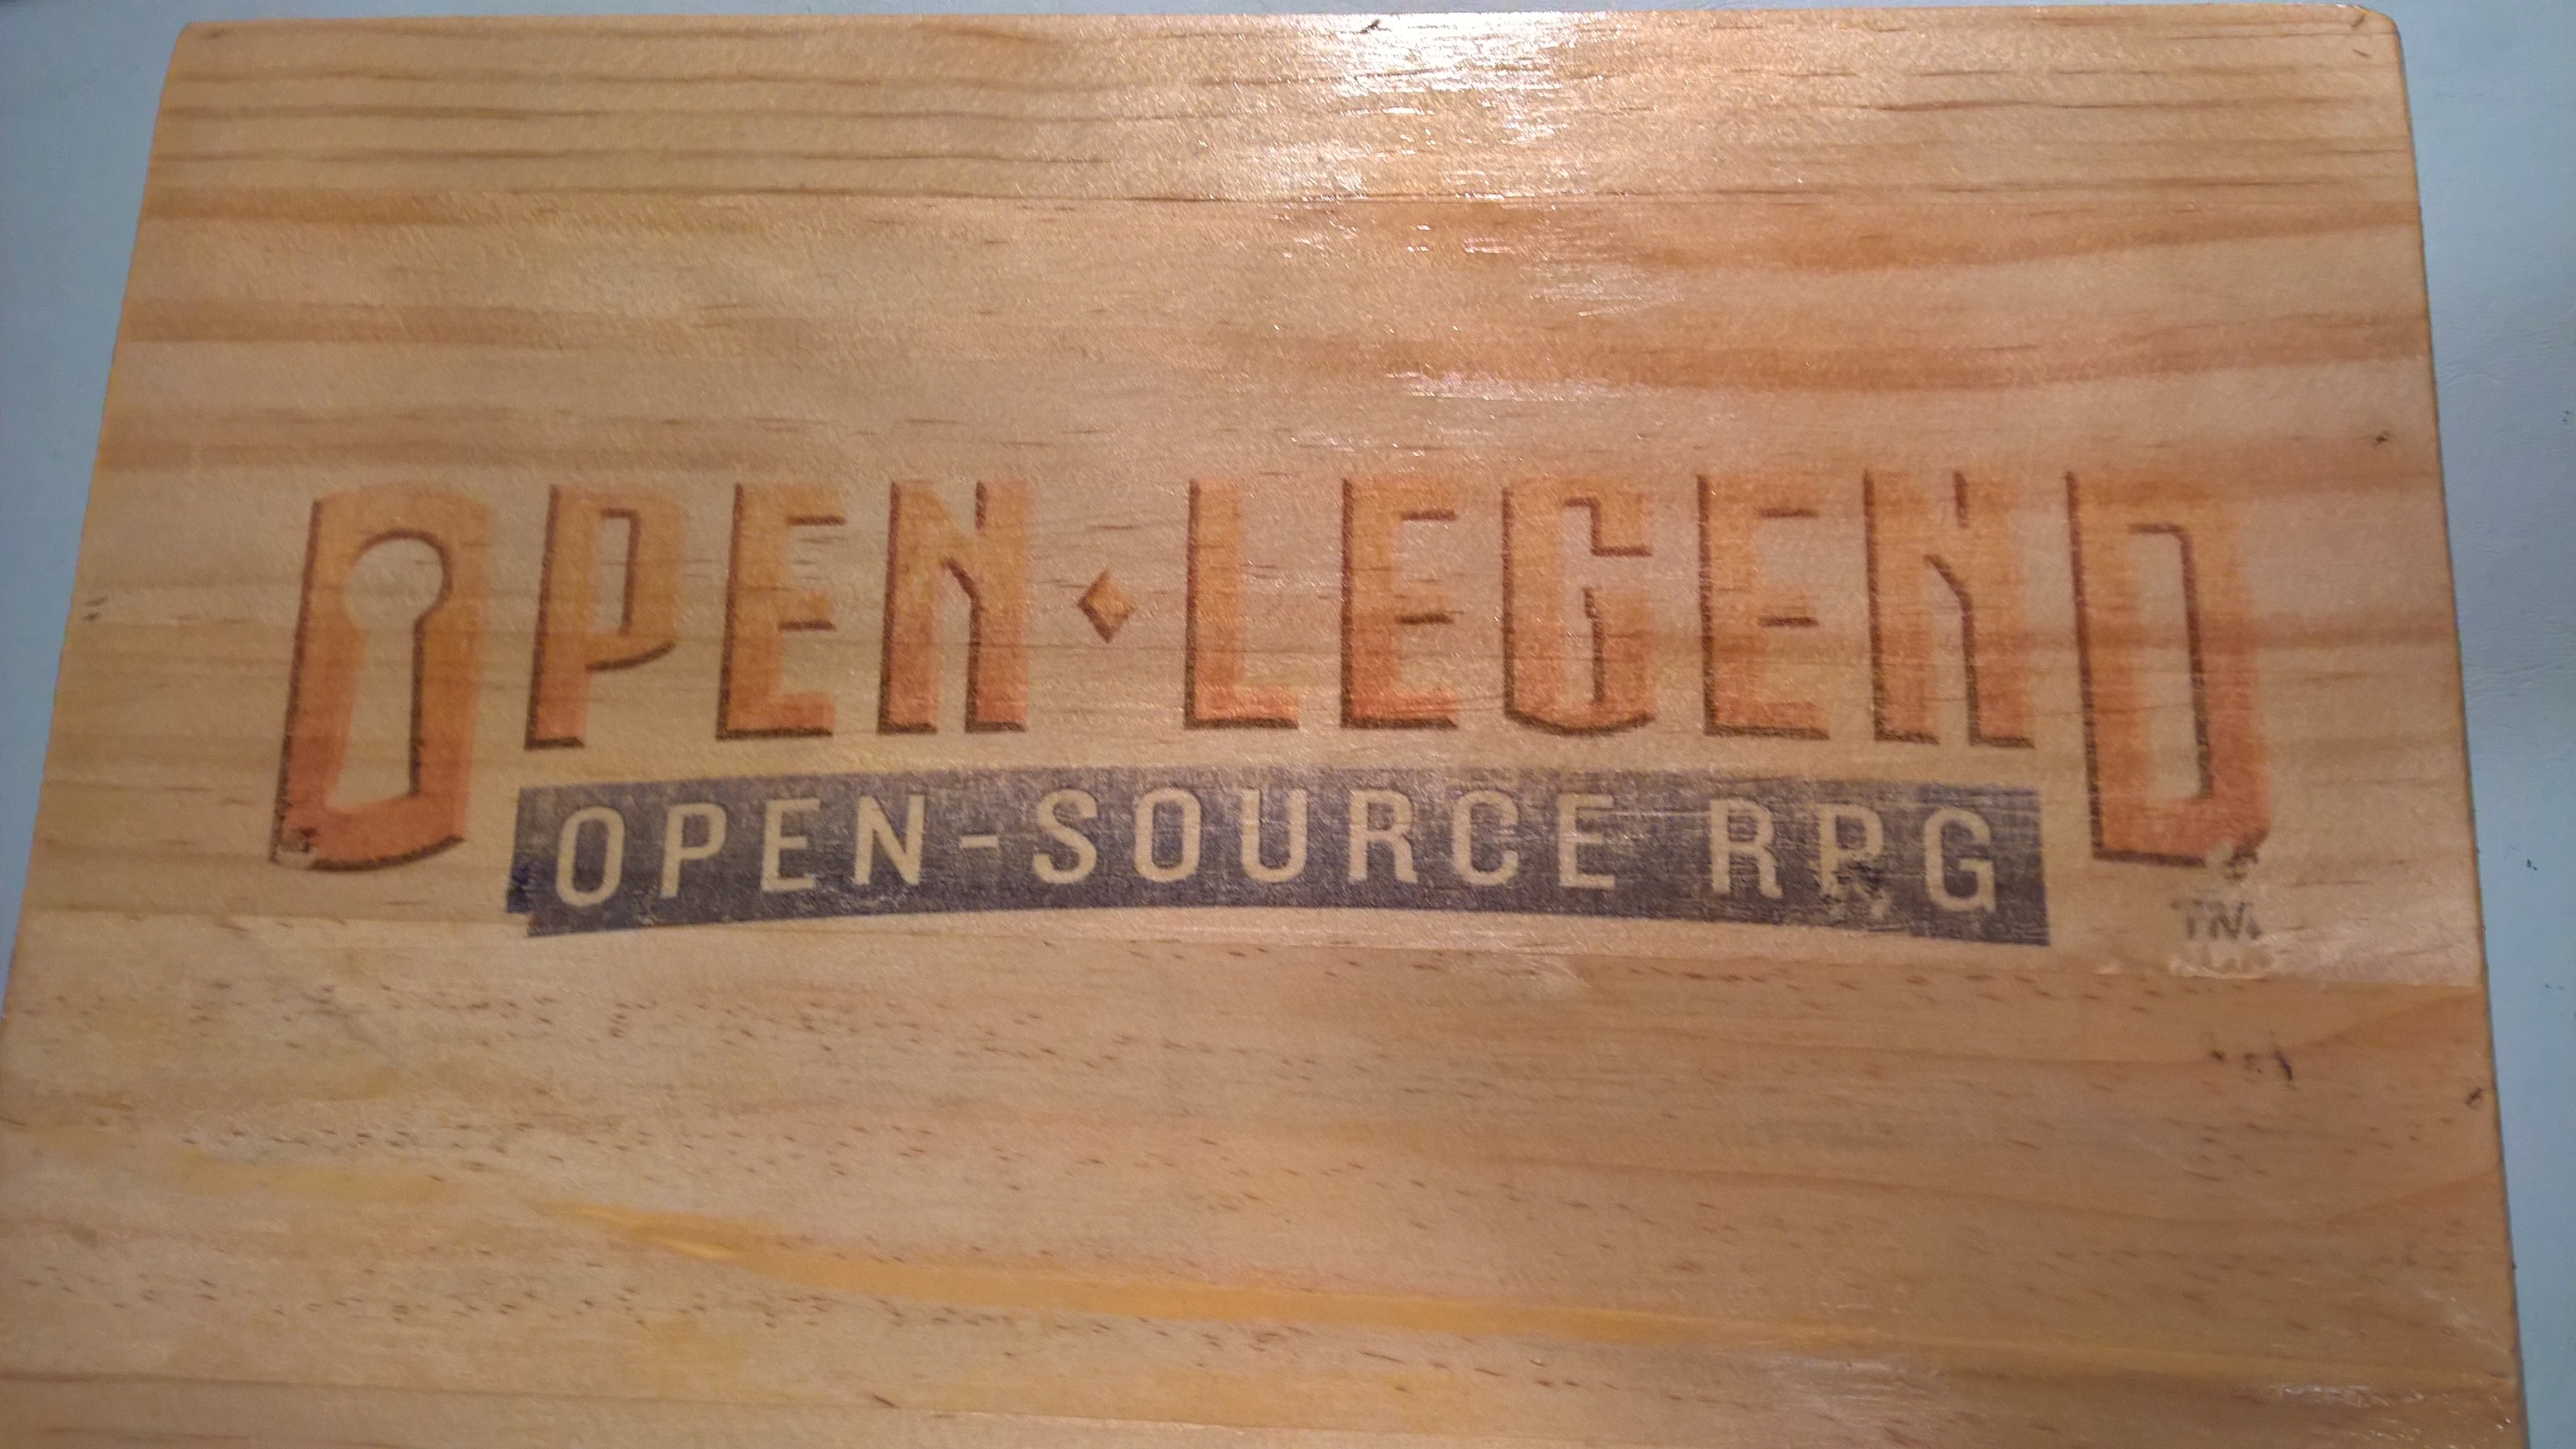
I was going to wait until this was completed, but I’m super happy the image transfer to wood came out and wanted to share.
Materials:
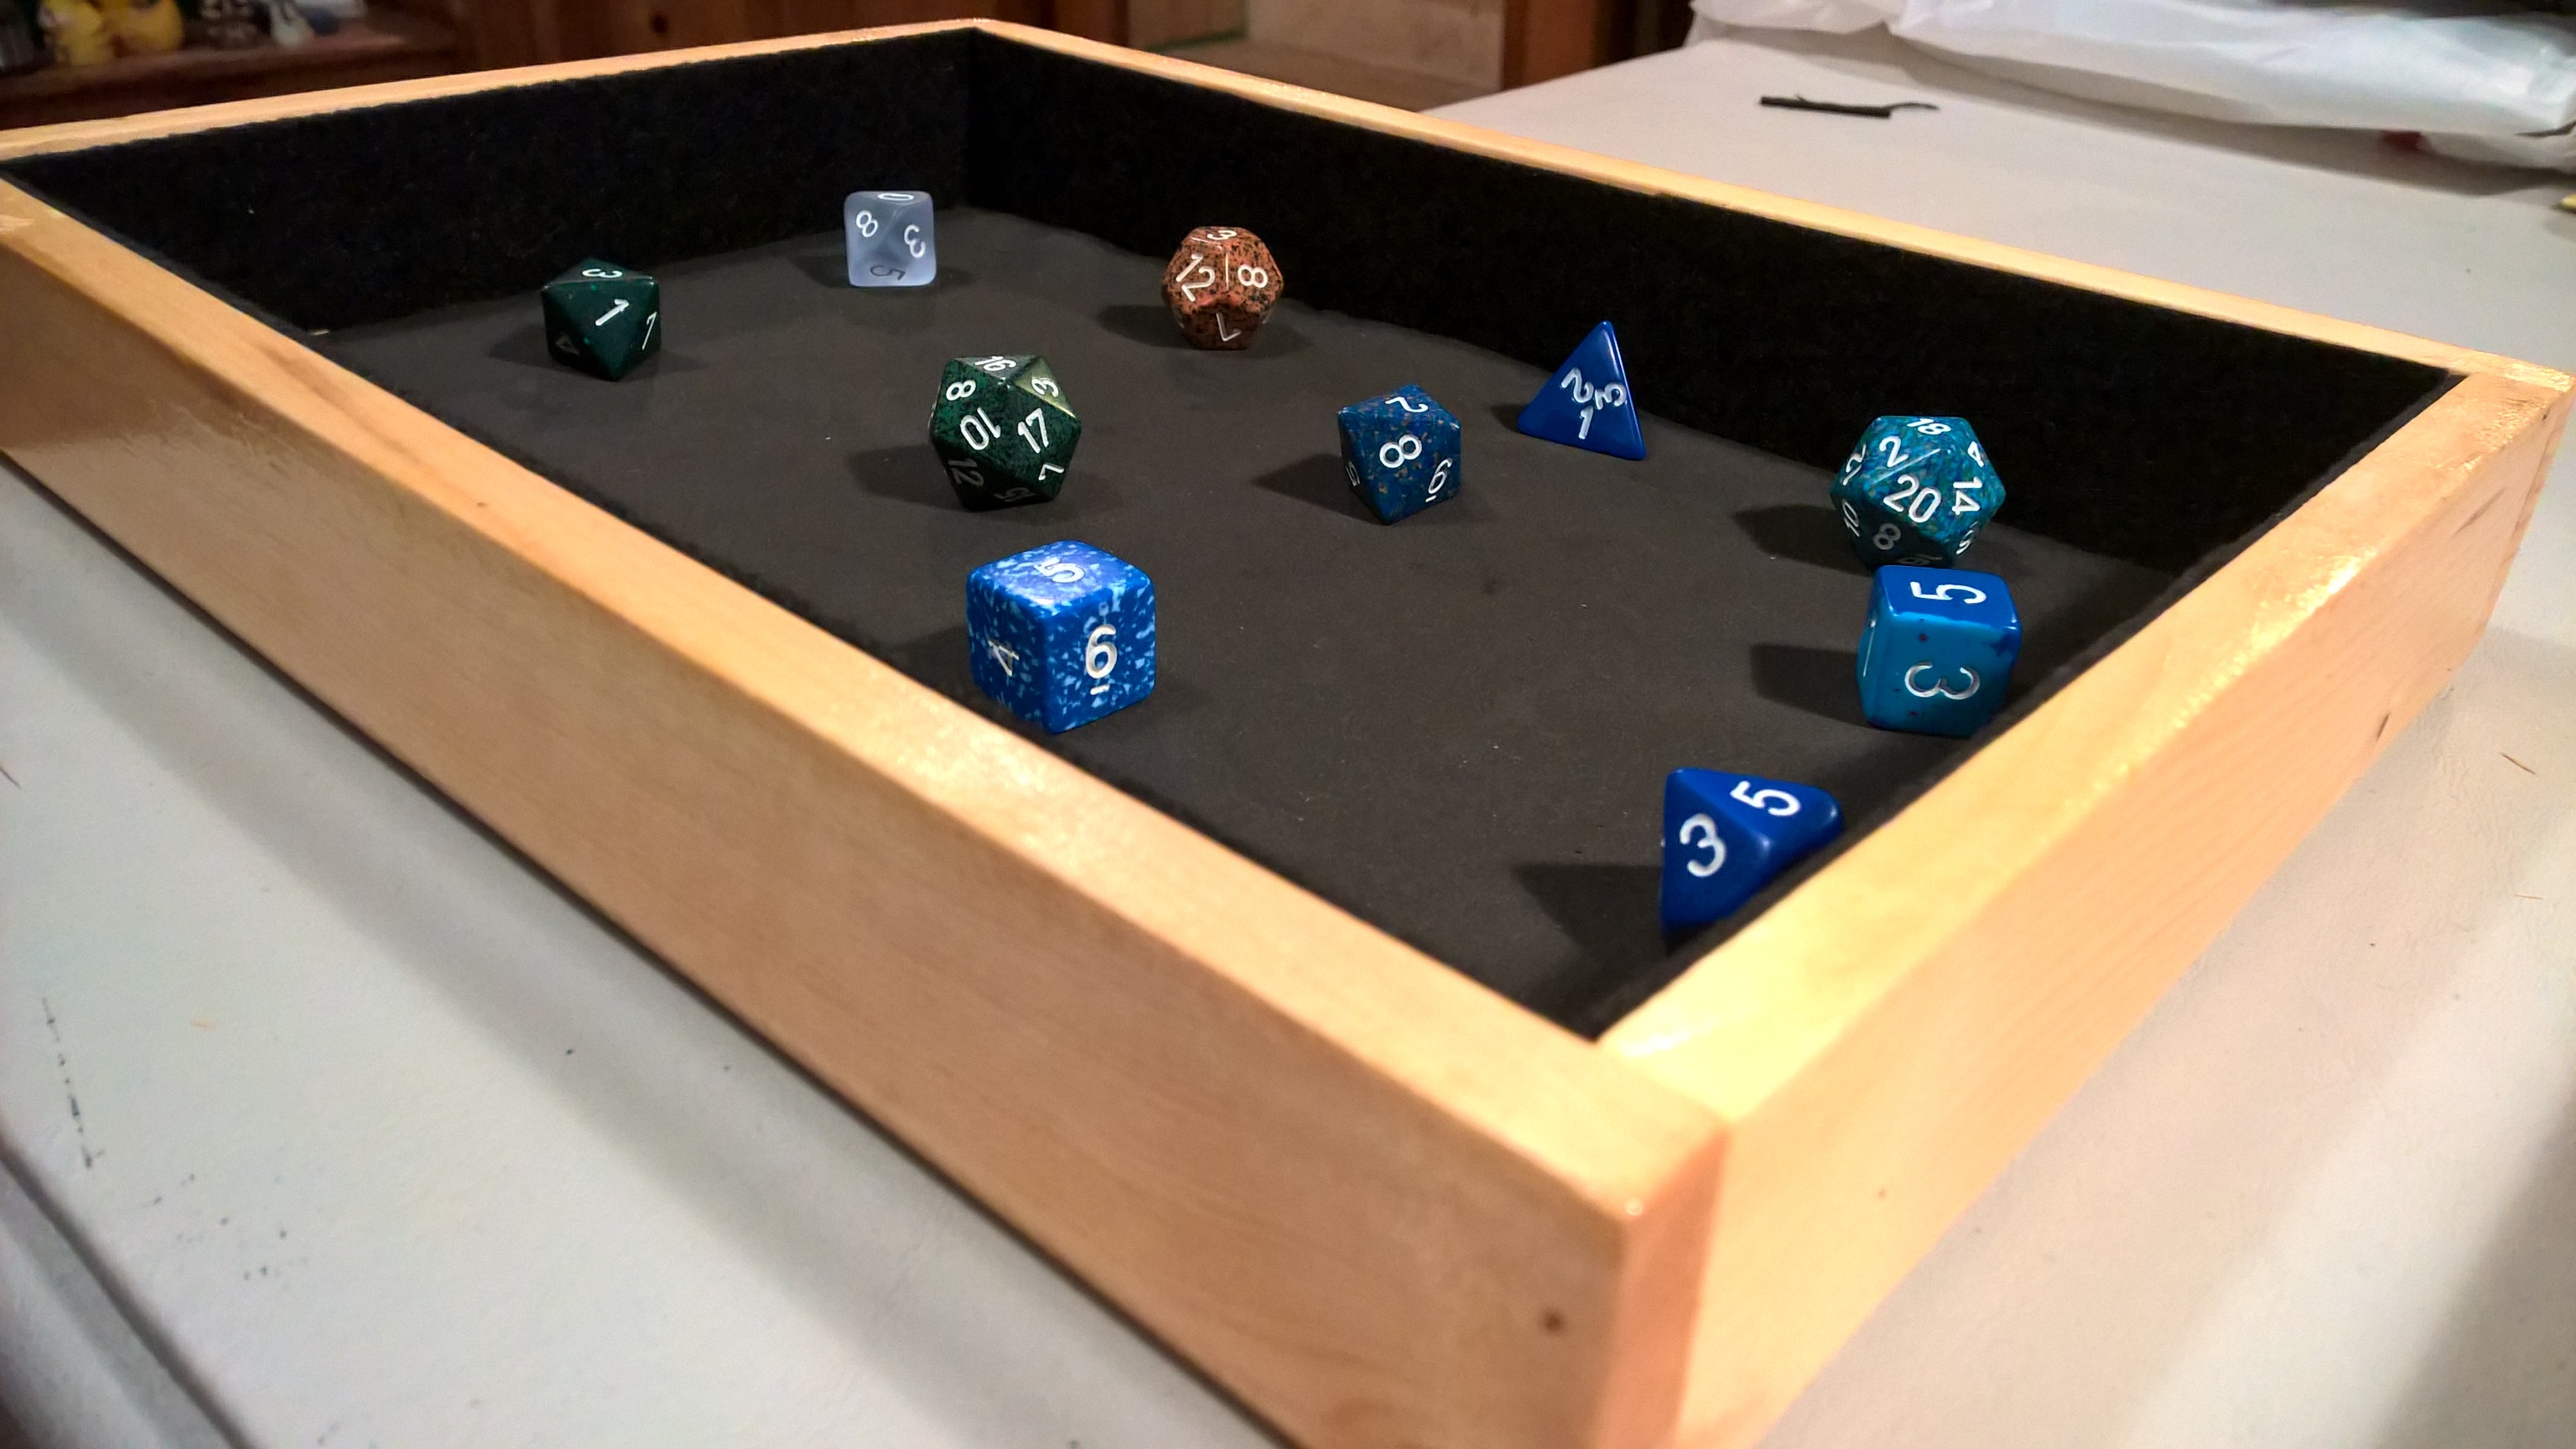
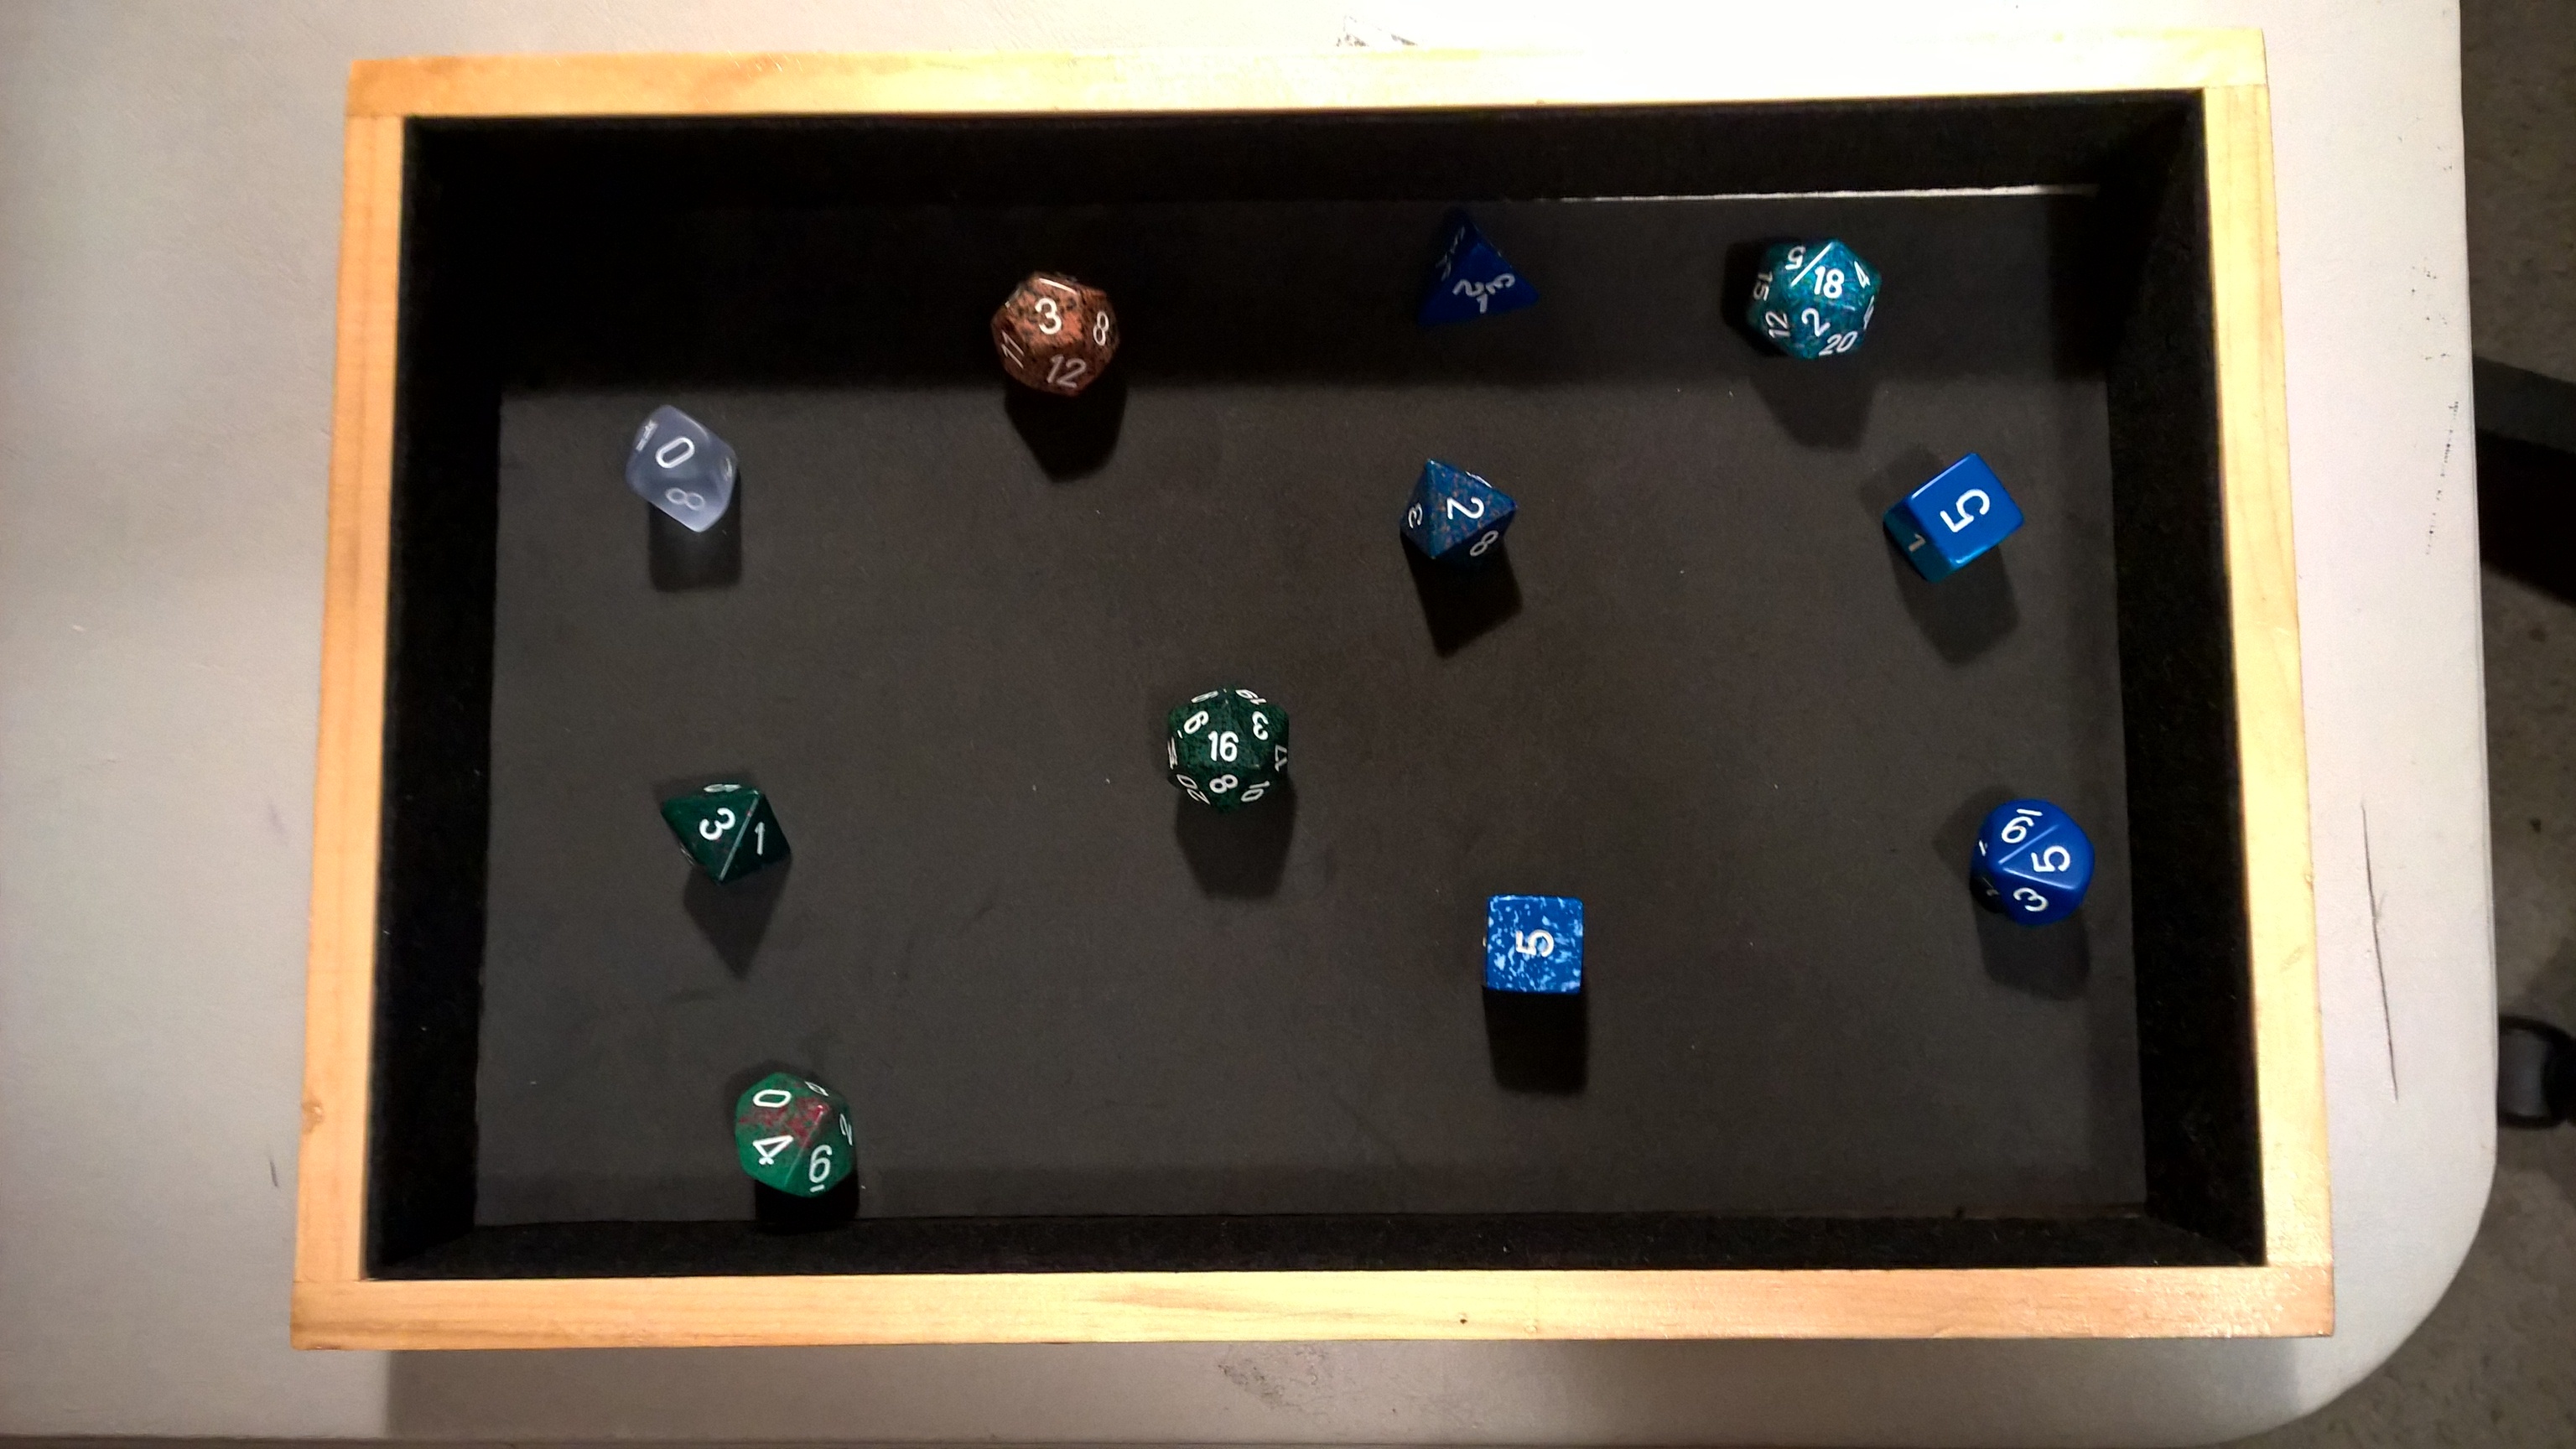
Wood tray from craft store.
Self-Adhesive foam sheet for the inside bottom
Stiffened felt for interior sides
Polyurethane - Clear Gloss
Tacky Glue and glue brushes (to spread the glue evenly for felt)
Sandpaper
Wax Paper
Made a small dice tray last week, and it came out ok, but thought I could bigger and better.
The part I have done and am super excited came out:
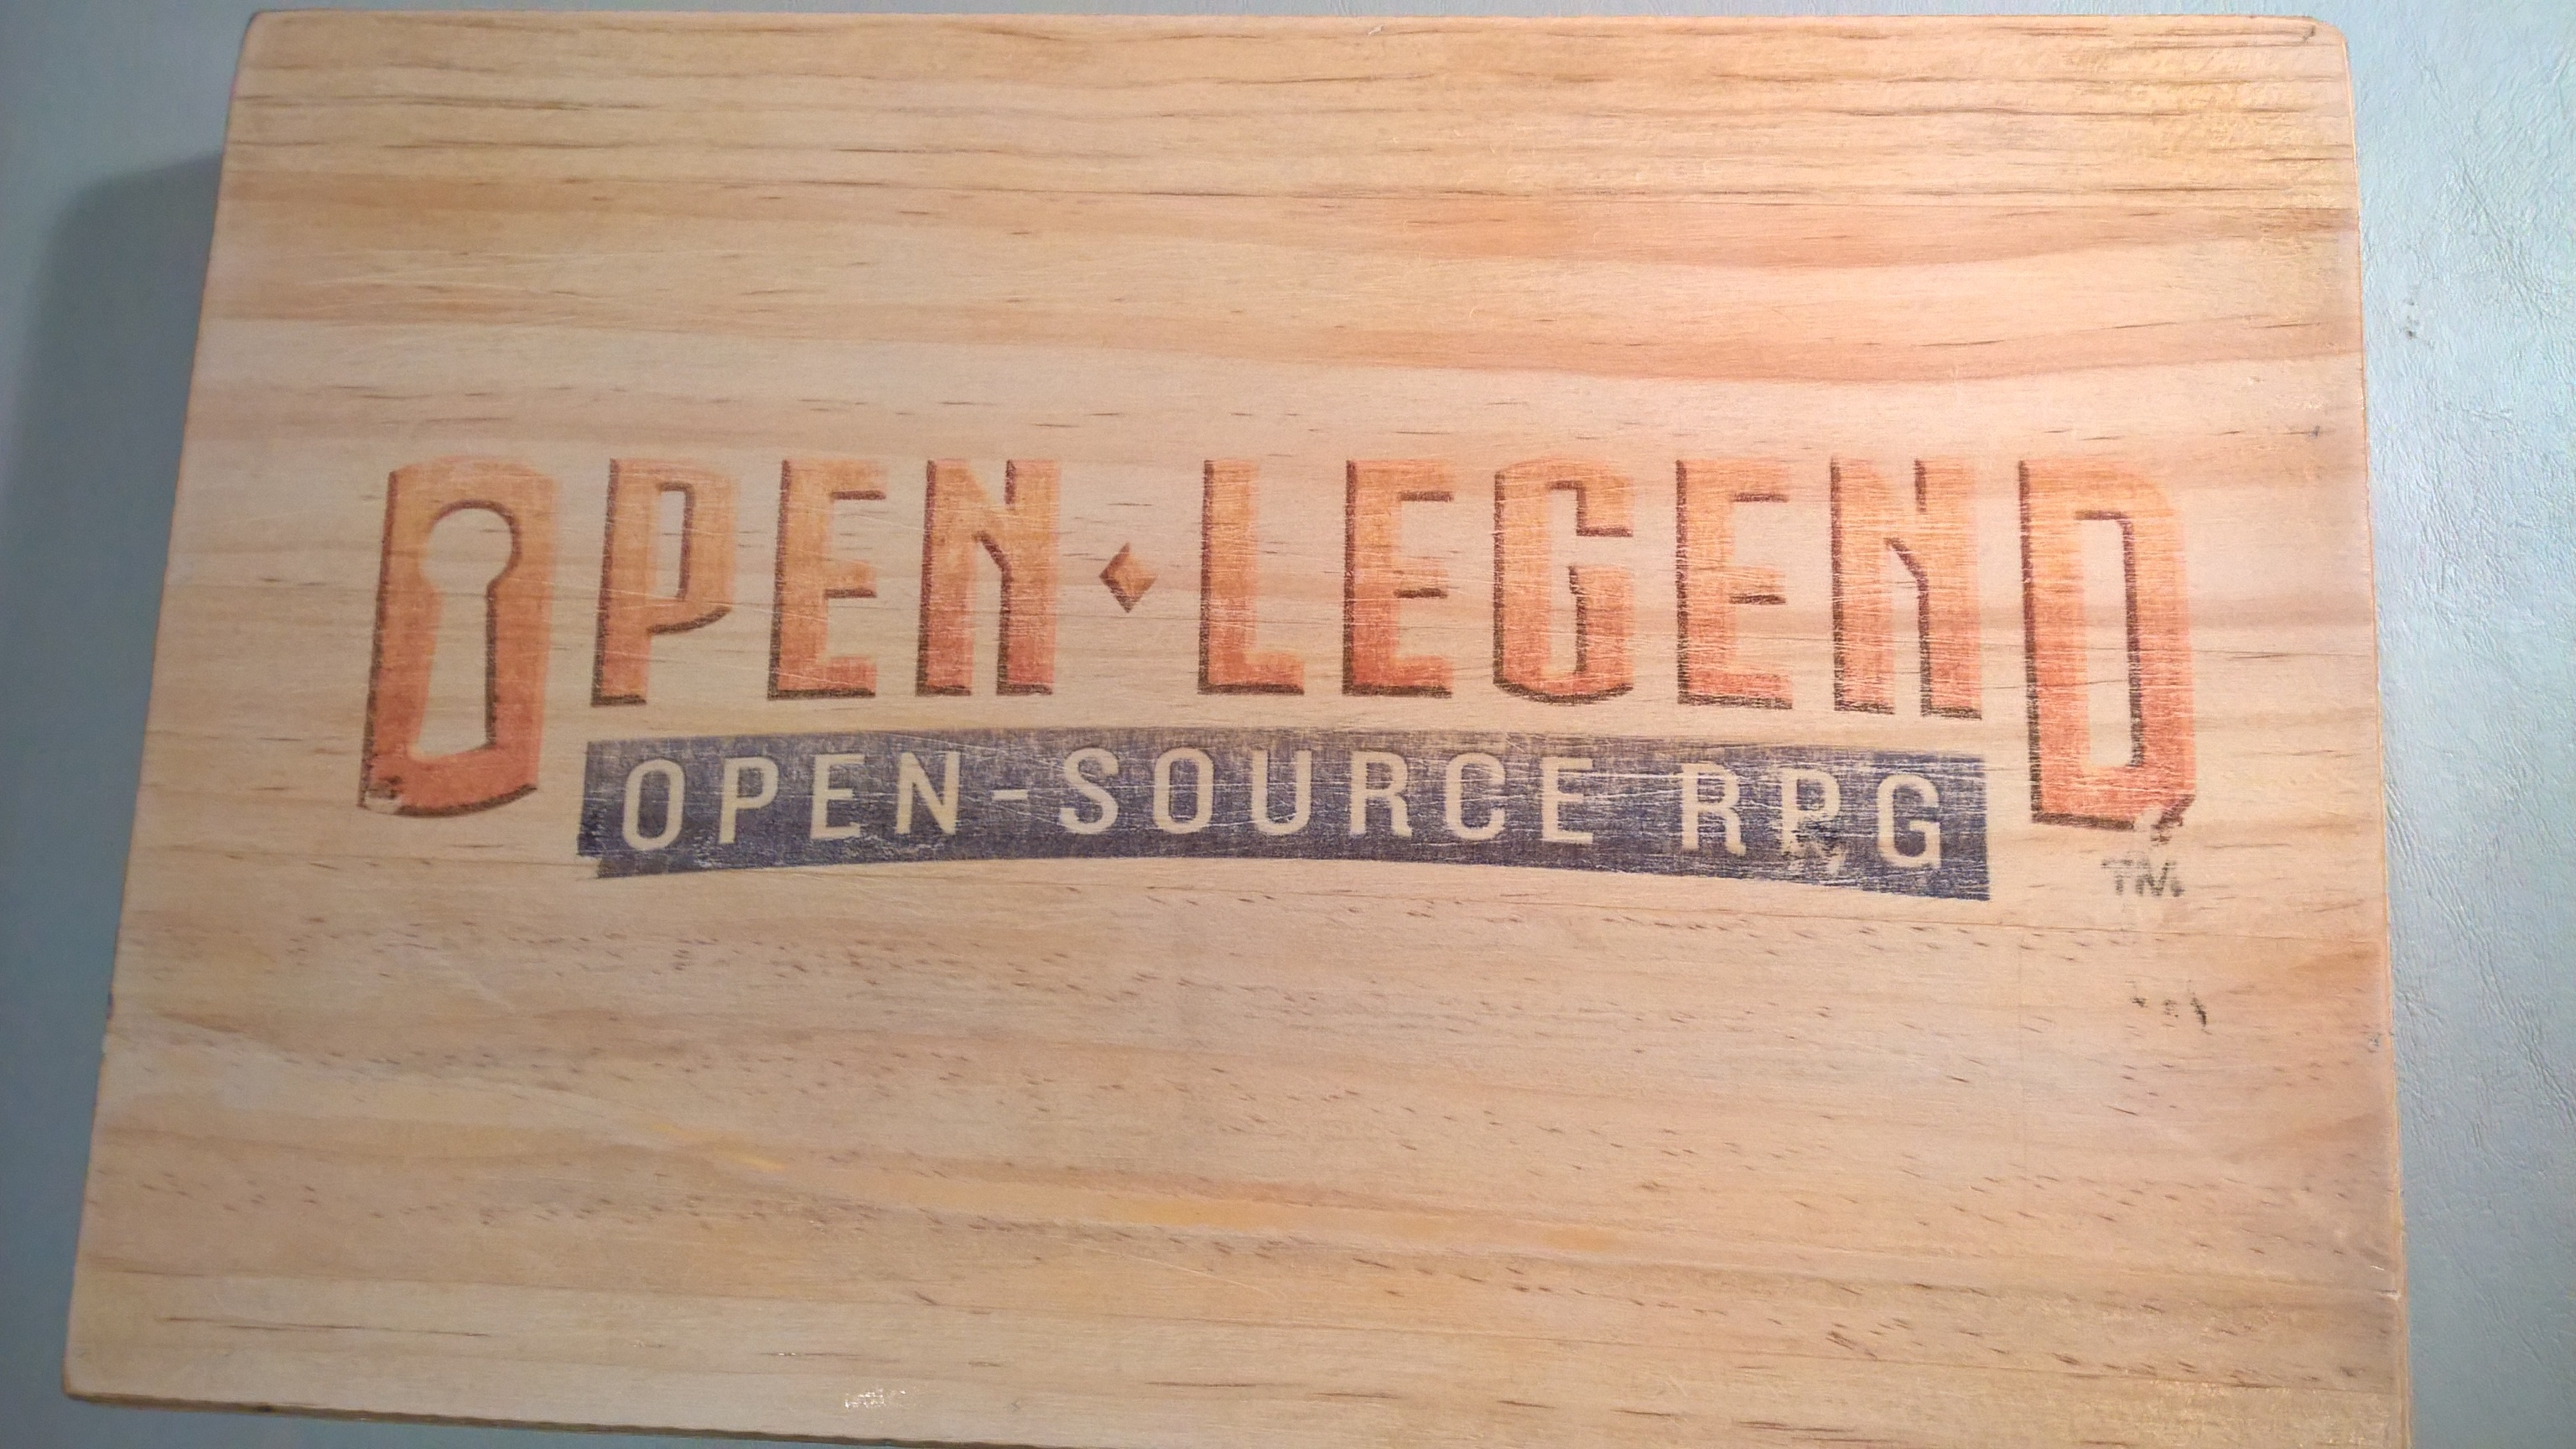
(outside bottom of tray)
How to do it:
Take image into image software and reverse it. I did a horizontal flip in MS Paint.
Cut wax paper to fit into inkjet printer.
Print flipped image on wax paper.
Place wax paper on wood so you can read it proper (the ink side pressed against the wood)
Take a gift card and rub over the wax paper. Don’t be afraid to be press down. The ink will press into the wood.
Follow the instructions here (please read in case I forgot something):
I’ll come back and complete post when the tray is done next week.